
Streamline Your Bakery Operations with WhatsApp Cloud API & Bake Boost
With its widespread use and instant messaging capabilities, WhatsApp has become indispensable for personal and business communications. Integrating WhatsApp into your operations for bakery owners can transform how you engage with customers and manage your business.
Introducing WhatsApp Cloud API Integration with Bake Boost
Our latest feature at Bake Boost harnesses the power of WhatsApp Cloud API to bring all your customer interactions directly into our app. This integration makes it easier than ever to manage orders, communicate with customers, and streamline your daily tasks through a familiar platform.
Why Use WhatsApp Cloud API for Your Bakery? #
- Direct Customer Engagement: Automate and personalize your interactions. Send order updates, respond to inquiries, and keep your customers engaged with timely notifications—all through WhatsApp.
- Efficient Order Management: Receive and confirm orders instantly. WhatsApp integration allows you to keep a pulse on your bakery’s workflow from anywhere, ensuring no order gets missed.
- Streamlined Communication: With all communications centralized within Bake Boost, you can manage your customer database and interactions effortlessly, ensuring high service and satisfaction.
Setting Up WhatsApp Cloud API with Bake Boost: #
1. Create a Meta Developers Account: Begin by setting up your developer account on Meta, which is essential for accessing the WhatsApp Cloud API.
2. Register Your Business: Link your business to the account, providing a seamless bridge between your bakery and your customers via WhatsApp.
3. Integrate with Bake Boost: Follow our easy integration guide to connect WhatsApp with your Bake Boost dashboard.
By integrating WhatsApp Cloud API, Bake Boost not only enhances your capability to communicate effectively with your customers but also enriches their experience, making every interaction smooth and professional.
Leverage the Power of AI and Automation
Alongside the basic features, leverage our AI-driven tools to write compelling campaign messages, automate responses to frequently asked questions, and schedule reminders for orders or promotions—all making your bakery operations as efficient as possible.
Get Started Today!
Transform how you manage your bakery with the powerful combination of WhatsApp Cloud API and Bake Boost. Sign up now to start enhancing your customer interactions and streamline your order management process. Embrace the future of bakery business management today!
Stay Ahead with Bake Boost
Keep your bakery at the forefront of innovation and customer service. With Bake Boost and WhatsApp, you’re not just baking; you’re building lasting relationships and a thriving business. Join us and see your bakery rise to new heights!
Create or Use Your Own Facebook Account #
Before diving into the WhatsApp Cloud API setup process, it’s crucial to tackle the first step: creating a new Facebook account or using your existing one.
As a member of the Meta family, WhatsApp requires you to have a Facebook account to access its API services. If you already have one, that’s great—this step will be easy.
As part of the Meta family, WhatsApp requires you to have a Facebook account to access its API services. If you already have one, great—this step becomes a breeze.
However, if that’s not the case, we’ll walk you through creating an account.
Here’s how to set up your Facebook account:
- Visit Facebook: Go to the Facebook website
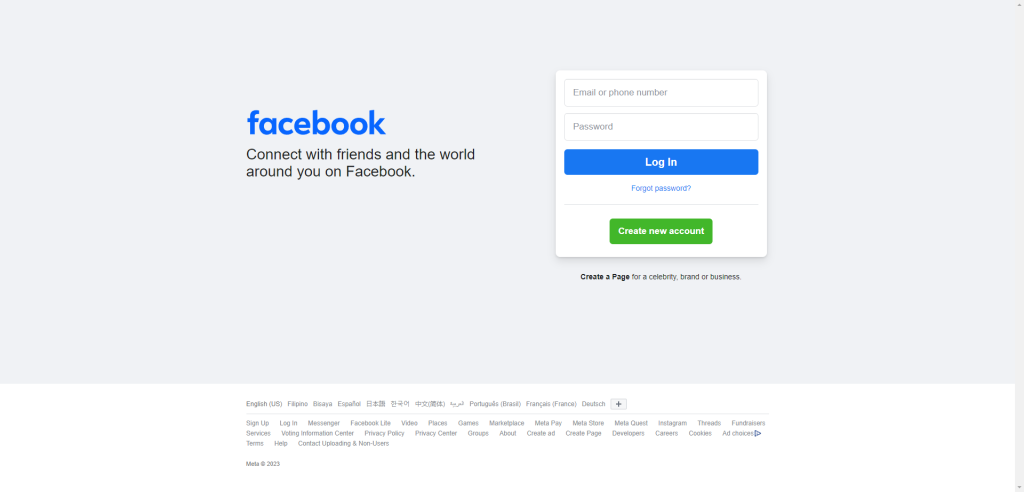
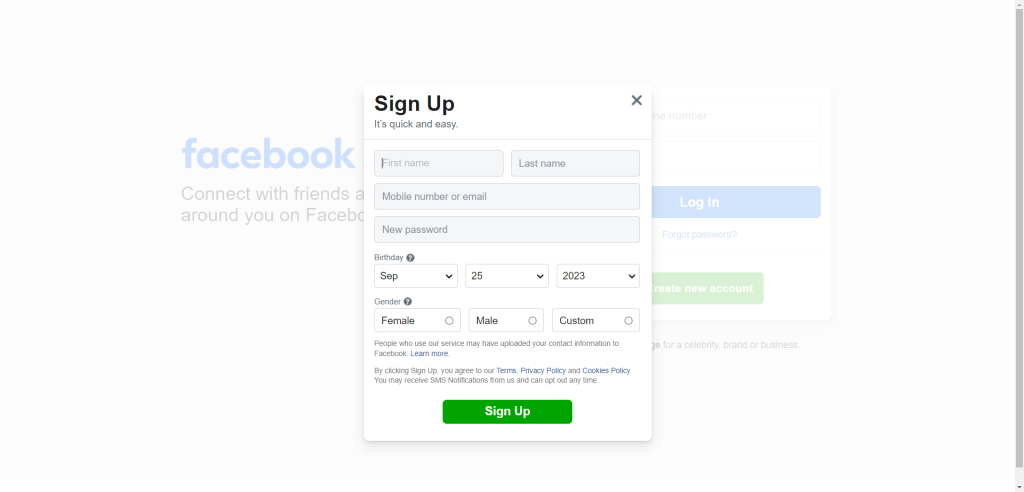
- To create a Facebook account, complete the information on the Facebook sign-up form: first name, last name, mobile number or email address, password, date of birth, and gender.
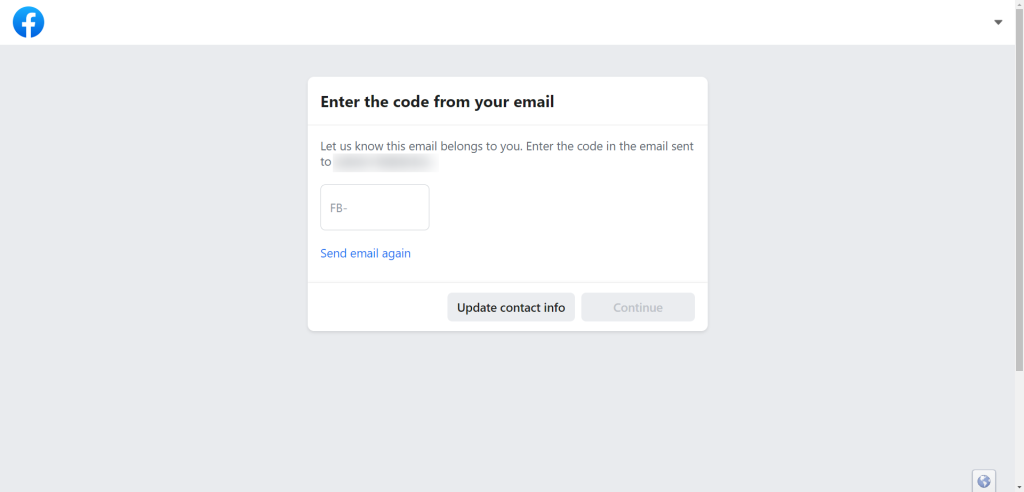
- Facebook will send a verification code to your mobile number or email address. Enter this code in the designated field to verify your account.
- Profile Setup: Facebook will assist you in setting up your profile, which might involve adding a profile picture and cover photo. You can opt to skip this step if you’d rather do it later.
- Welcome to Facebook! Once you complete these steps, you will have a Facebook account. This account is essential for accessing WhatsApp Cloud API services and integration.
Now you are set to create a Meta Developer account.
Create or Utilize Your Meta Developer Account #
Just as a Facebook account is necessary, having a Meta developer account is crucial for setting up the WhatsApp Cloud API.
Here’s how to create a new Meta developer account or use an existing one.
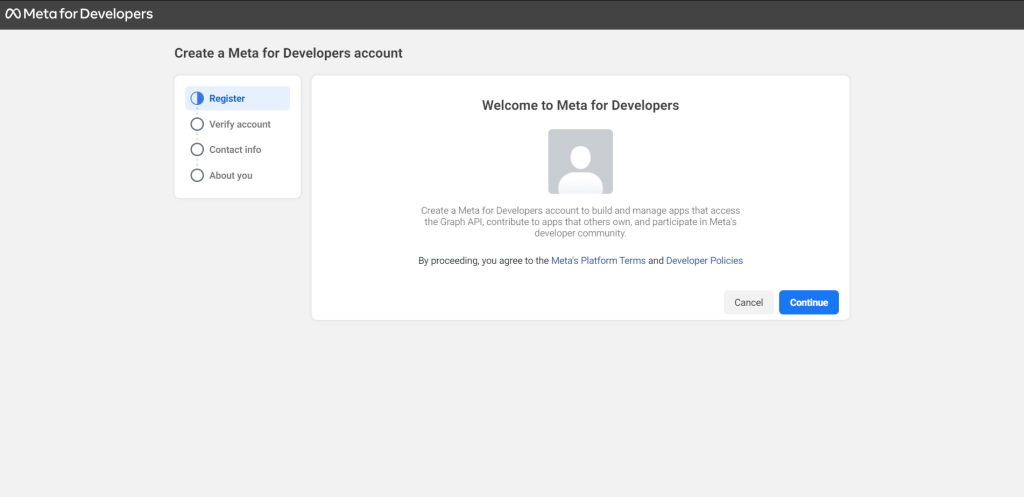
- Begin by logging into your Facebook account. Next, continue with the registration process by visiting https://developers.facebook.com/async/registration.
You can also visit the Meta for Developers website and choose the Get Started option.

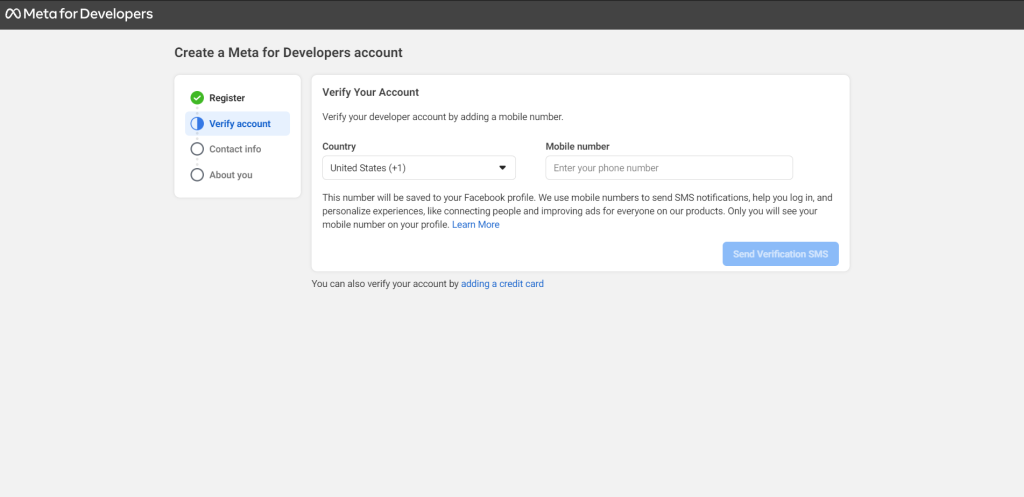
- Click on Next to proceed and agree to the Platform Terms and Developer Policies.
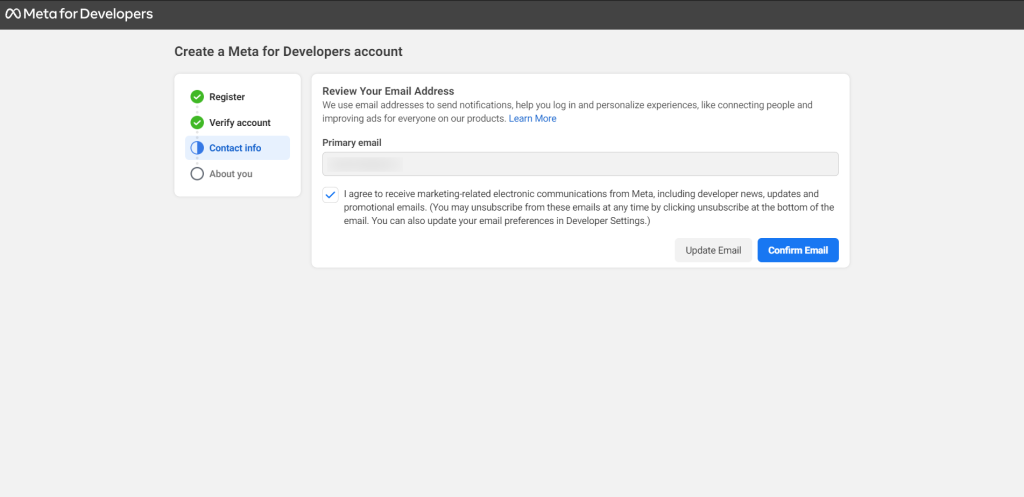
- For security reasons, a verification code will be sent to the phone number and email address you provide. This step verifies your access to these contact points, which will be used for important developer notifications about any changes that might affect your app.
- Please choose the occupation that most accurately describes your professional role.
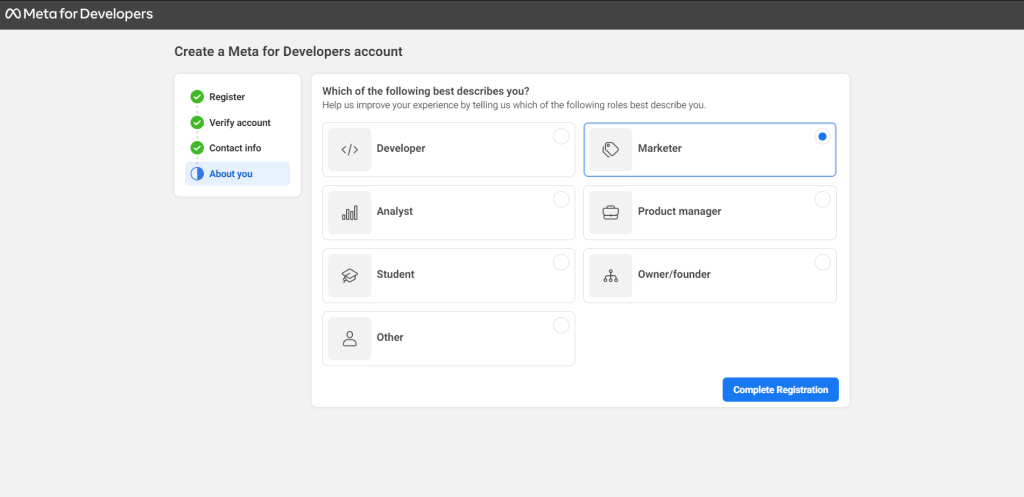
Once you complete these steps, you’ll be well on your way to using the App Dashboard to create your very first Meta app.
Using an Existing Meta Developer Account #
If you already have a Meta developer account, just log in to your account on the Meta for Developers website.
A Meta developer account provides access to developer tools and resources, including the WhatsApp Cloud API.
Now that you have both your Facebook and Meta developer accounts set up, you’re ready to configure the WhatsApp Cloud API and integrate it with your applications or services.
Creating a WhatsApp Application in Meta #
Setting up a WhatsApp application in your Meta developer account is the next step for configuring the WhatsApp Cloud API.
Here’s how to proceed:
- Visit the Meta for Developers website and log in to your Meta developer account.
- Once logged in, find the section or page associated with the “My Apps” tab in your developer account dashboard.
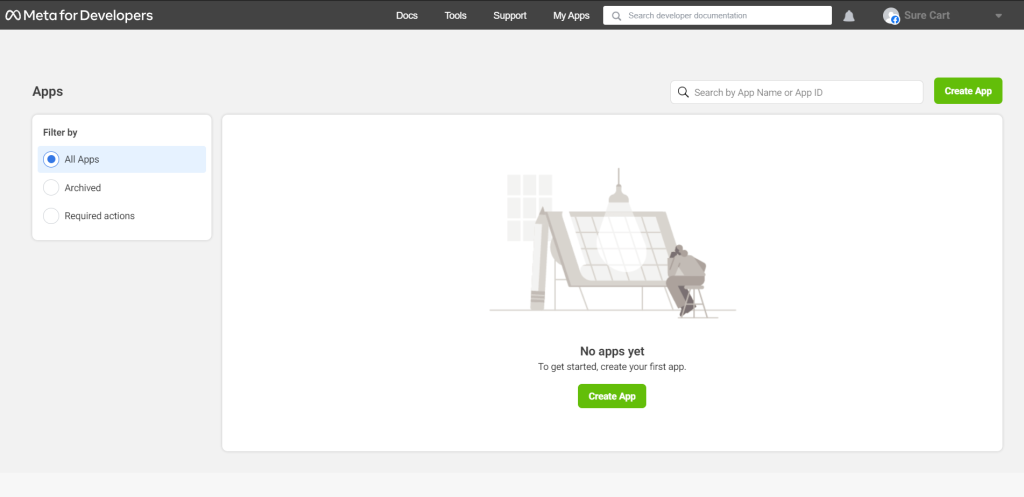
- Click on ‘Create App’ to initiate the application creation process.


- Select “Other” as the app type since neither of the other options applies to our use case.

- Select Business as the app type that will be utilized in WhatsApp.

- Provide a display name for your application and, if applicable, connect it to your business account. If you don’t have a business account, don’t worry; the Meta for Developers platform will let you create one later.

- You can select ‘Create App’ when you are done.
- Move to the WhatsApp section and click on Set Up.

- Select an existing Meta Business Account or request the platform to create a new one. Then, click Continue.
Adhere to these guidelines regarding how to create a Meta Business Account.

By following these steps, your WhatsApp application will be created and ready for use, complete with a temporary access token.
Please note that this token has a limited lifespan. Below, we’ll demonstrate how to generate a permanent access token for your applications and integrations.

Please note that the Temporary Access Token, Phone Number ID, and WhatsApp Business Account ID are important pieces of information you need to use. WhatsApp cloud API.
How to Obtain a Permanent Access Token for the WhatsApp Cloud API #
After you create a temporary access token and Phone Number ID, you can use them to conduct some testing with the WhatsApp cloud API, such as sending messages with API and engaging in other actions.
This temporary access token resets automatically after 24 hours, so it cannot be used for live operations.
You likely want your app to access the API for more than 24 hours, so you need to generate a permanent access token.
Thankfully, the Meta for Developers platform simplifies this process.
To obtain an access token for continued API access, simply add a System User to your business account.
To create a system user and obtain the permanent access token, follow these steps:
- Go to Business Settings from the top menu.
- Select the business account your app is associated with.
- Below Users, click System Users.

- Click ‘Add.’ Ensure you read and accept the terms and policies.
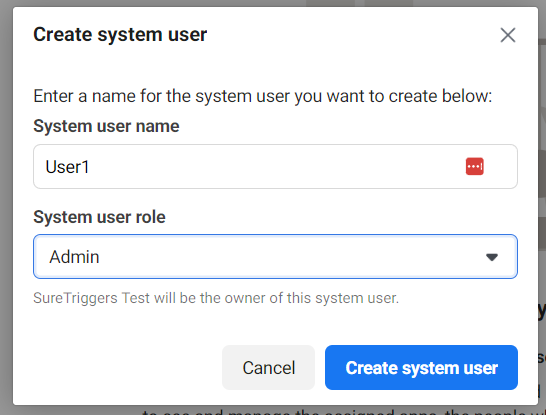
- Identify the system user, select Admin as the user role, and click Create System User.

- Choose ‘Generate New Token.’
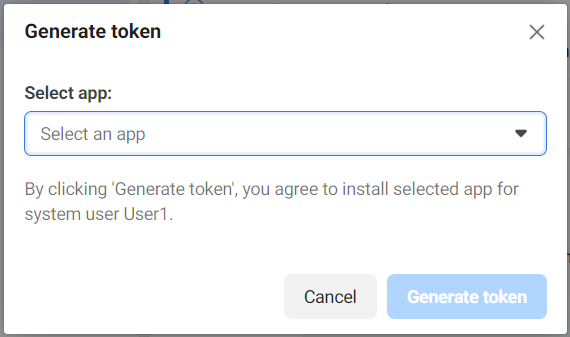
- Select the whatsapp_business_messaging permission.

- Save your token and make a copy of it.

This permanent access token allows your application to access the WhatsApp Cloud API for a longer period, making it ideal for long-term use.
By following these steps, you have successfully obtained a permanent access token that guarantees uninterrupted access to the WhatsApp Cloud API for your applications and automation.
Set up Webhook to Receive messages in Bake Boost App #
After successfully setting up your WhatsApp application and unlocking the powerful capabilities of the WhatsApp Cloud API, you are poised to dive into the thrilling realm of messaging like never before. Embrace the potential that awaits you!
Here’s a detailed guide on sending and receiving messages through the API; go back to your Developer page on Meta, where you have created the app
- Step 1: Select phone numbers

You have the ability to decide where your messages come from and to whom they are directed.
From: You can send free messages using the provided test phone number to test if it works fine, and then you need to have your phone number.
Keep in mind that using your phone number may have specific limits and charges. To learn more about this, refer to the documentation. The below screenshot shows the page

- Step 2: Copy the Access Token
Copy the Access token, this is required to be entered in the Bake Boost Application.

- Step 3: Configure webhooks to receive messages
For seamless communication, it’s essential to establish webhooks that enable your application to receive messages. You can create a custom webhook URL as per the below setup; this is required to receive and send messages in the Bake Boost App.

- Step 4: Click on Edit Subscription
Enter the details of the Bake Boost Webhook provided within the application, where you are configuring WhatsApp.
- Call back URL
- Verify Token

- Step 5: Configure In the Bake Boost Application
On the main screen of the Webhooks, scroll down and subscribe to ‘Messages’.

- Step 6: Configure In the Bake Boost Application
Enter the WhatsApp access token and other details copied from Step 2 above.

- Step 7: Add a payment method
To ensure smooth communication, especially for business-initiated messages, it is essential to add a payment method. After you have used your monthly quota of 1,000 free user-initiated conversations, having a payment method becomes mandatory.
By following these steps, you’ll be well-equipped to engage in effective messaging, whether for customer support, notifications, marketing, or any other communication needs within your applications or services.
Upon completing these steps, you will have full access to the WhatsApp Cloud API, and your integrated application will be ready to utilize the power of WhatsApp’s messaging capabilities.


